Vault Marking
**Vault Marking** will make it easier for you to identify which content has already been sent to a fan and whether or not they bought it.### How...
One of the most powerful features of BuddyX is that it allows you to create scripts with pics, videos and price attached. Which means that you can send your scripts including locked or free media with the click of a button while in a chat. You can also use the templates to organise your vault! With the fast send button, you can quickly access your vault.
When you go to Messages tab on the tool, you see your already created templates there. To create a new one, click on ”+ Add Template”. A modal like this will appear (without the numbers):

You can specify the following 6 fields:
Using the shortcut “insert name”, you can insert fan names into your messages. It can be the nick name, you have given to your fan {displayName} or the name the fan has chosen for themselves {name}. For more info, read here.
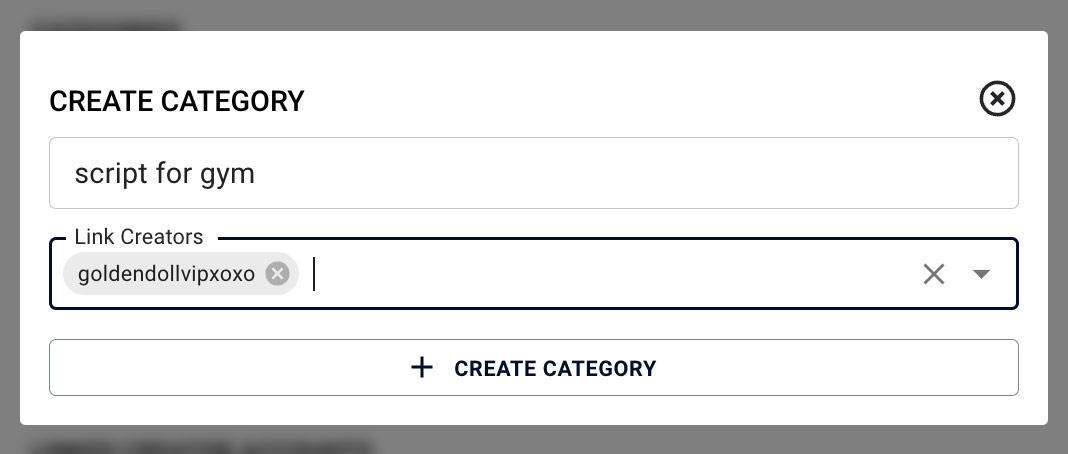
You can attach Category to each message. Why is this helpful? Categories help you organise the message templates into smaller buckets. You can then filter for only one category and see all templates that belong to this category.
For example, all messages that belong to one script can have the same tag (Script for gym, script in kitchen etc). And then it’s easier to find all messages that belong to this set. You can even use this to organise your Vault content. For example, you can make a category called Vault or G/G and use it to quickly pull up content you use very often.
If you have more than one creator account linked to your key, you can also choose which creator do you want to use the tag for. By default, it’s applicable to all creators. But you can select one or more creators using the “Link Creators” dropdown.
:::info Use same scripts across multiple accounts If you use the same scripts for multiple accounts, you can attach media from several accounts to the same message template and the media shown will be from the account you are logged in with. The price for media is also saved per account.
For example, go to model 1, make a template: Hey there! and add media to it. Then log into the second model account, you will see the template text “Hey there!” but no media attached, now you can add media for account 2 and then 3 and so on to reuse the scripts across models. :::
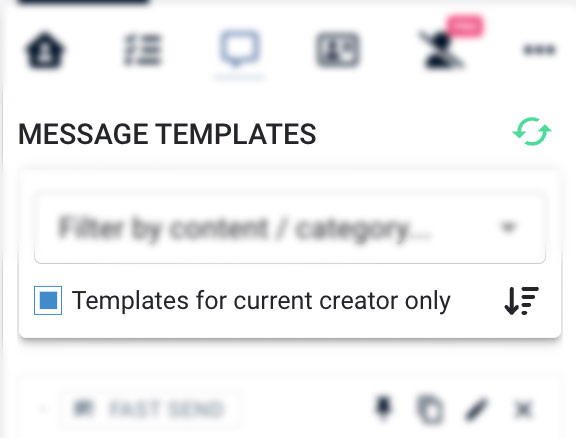
If you have more than one account linked to your key, you can create different templates for each creator.
By default, each template is linked to all creators on the key. But if your scripts are completely different, then you can separate them and then using the check-box: “Templates for current creator only” filter for scripts for the current creator.
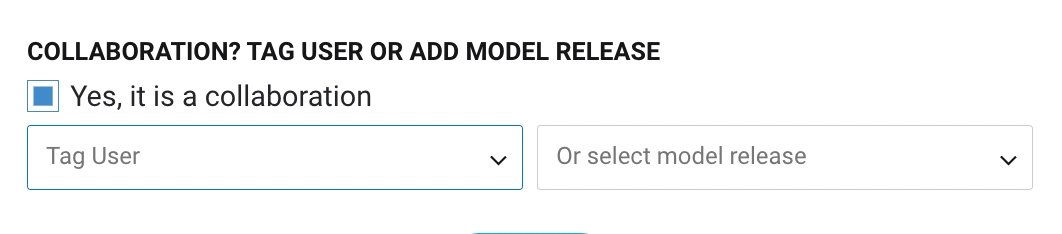
You can use these two fields to further organize your layouts!
If the content features another creator or a partner who needs a tag or model release, you can already attach the release form or tag another creator using these two fields. Just click on the checkbox, and you will When you use the fast send button to send this message, the tags / release form will be attached. (Please refresh the page to see the tag attached)
And after you have set up the message, just click on Save and you are done!
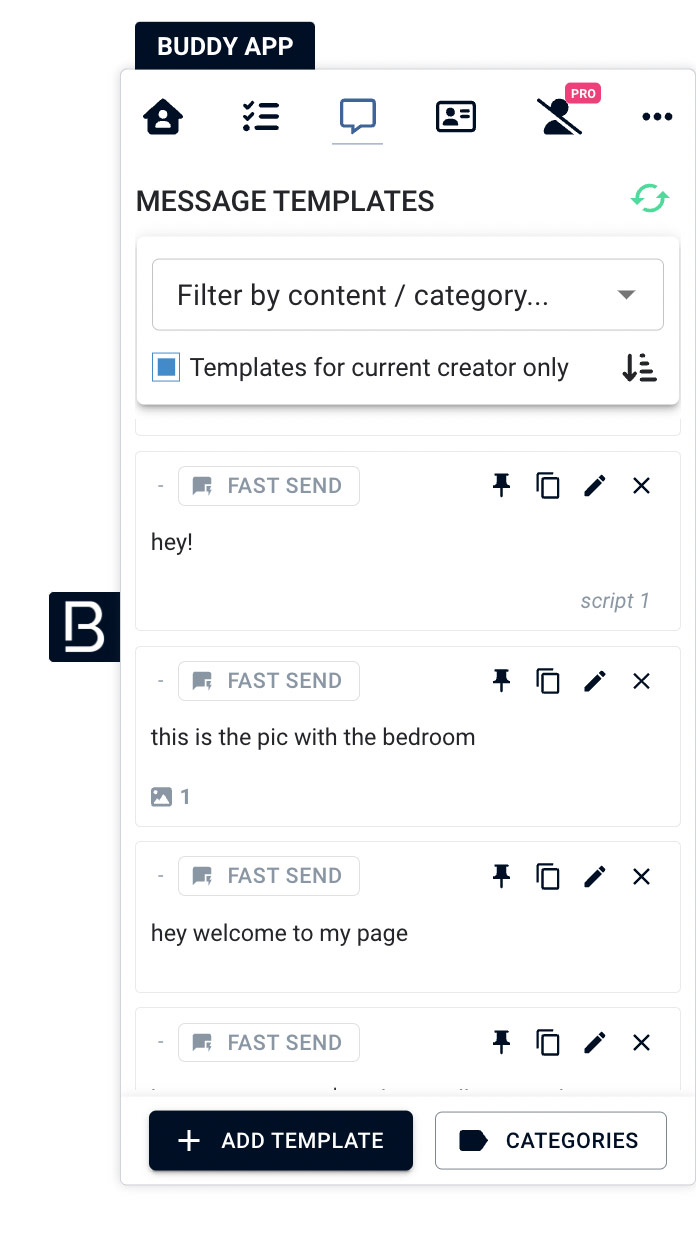
The message templates will look like this on BuddyX:
First go to the chat view and click on the fan you want to send the message to.
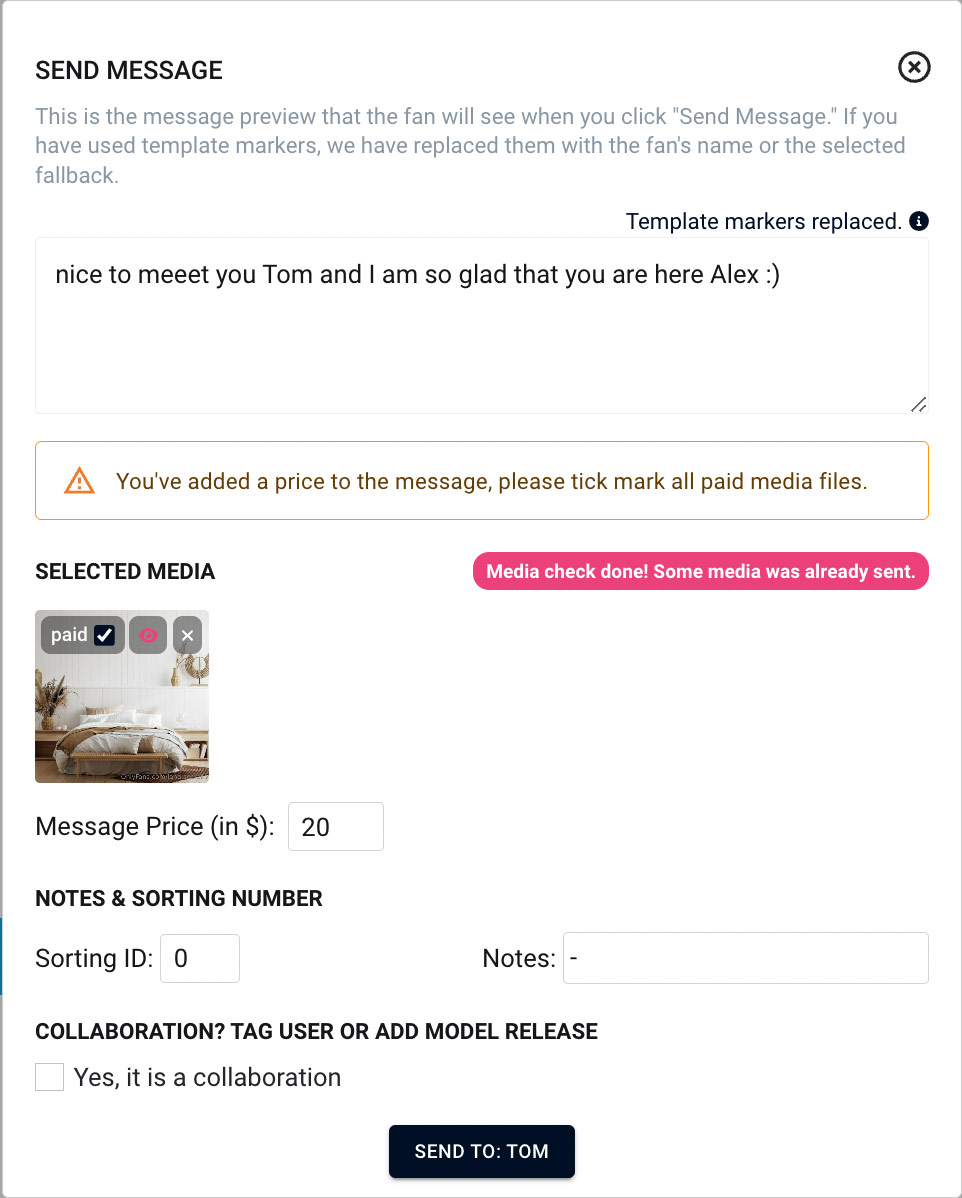
{displayName|honey} and I am so glad that you are here {name|love} :), the confirmation modal will show the following:
After the suggestions / scripts are open, you can navigate through them with:
When you hit enter or click on a message template, the message will be directly sent to the fan. Please make sure to select the right template. Clicking on the copy icon will copy the text only (no media)
As you can see in the video, when you click on one of the shortcuts, a search input is mounted on top of the OF chat. You can search for a word and all templates with a matching tag or a word in the script will be shown in the suggestions.
:::info Please note:
:::